Dipping my toes in generative art, with my sister
I made two resolutions for 2020:
- Turn in stuff due at least one day before the deadline, where “stuff” is things like manuscripts, reviews, applications, etc.
- Learn about generative art in R.
The first was going okay, until COVID… And since I didn’t get to start on the second one until the COVID lockdown, I was thinking there’s no way I manage to make time for it before nursery reopens. But then, out of nowhere last week, my sister DMed me this on Twitter:
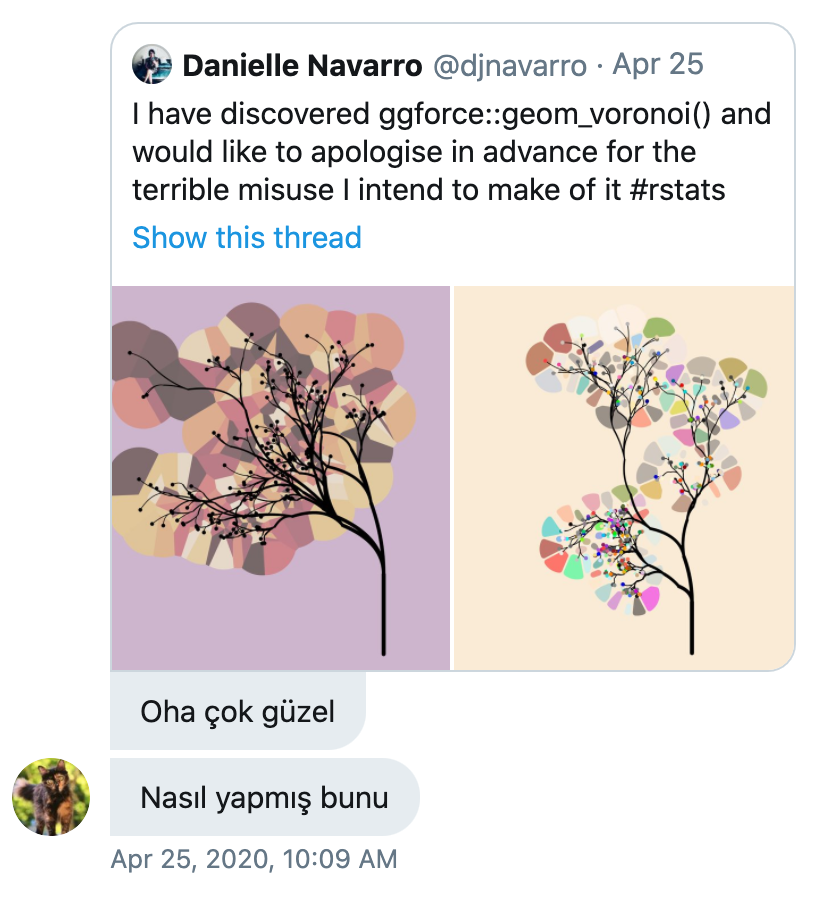
Twitter DM conversation with my sister where she asks how Danielle Navarro created a piece of generative art
For those of you who don’t speak Turkish, this translates to “WOAH so pretty, how did she make this?” So I linked to Danielle Navarro’s blog post on getting started with generative art, and my sister’s response was “I read this, and really wanted to understand it, but I can’t follow it. Should we try it together?” I should clarify that my sister doesn’t know R. She is a UX/UI designer and an illustrator, and she’s pretty technical, but she’s not a programmer. She obviously knows what R is since I won’t stop talking about it. She has even tried to learn R once or twice, but never really got too interested (she was one of the many drop outs from my Coursera courses). Lately her interest in data visualisation has been growing (a combination of work projects involving data visualisation as well as personal interests), so I’ve been hoping that one day she would ask me “how do you do [X] in R?” I was very excited when that [X] ended up being something I really wanted to learn as well.
So we made a virtual (duh!) date to meet up on Saturday and get started with generative art in R. I decided to blog about this for three reasons:
- To demonstrate how we used RStudio Cloud to get someone who is totally new to R and programming to make some pretty pictures, quickly (we were under the time pressure of my 3 year old refusing to nap)
- To show our setup for remote one-on-one instruction / learning together
- To share a list of beginner friendly resources on generative art in R
Meet me on RStudio Cloud!
In the 15 minutes between putting my son down for a nap and my sister getting online, I created a workspace on RStudio Cloud and set up a base project in the workspace where I installed a bunch of packages that I figured might be useful for this exercise.
# from CRAN
install.packages("tidyverse") # For data wrangling and visualisation
install.packages("devtools")  # To install packages from GitHub
install.packages("scico")     # Colour palettes based on the scientific colour-maps
install.packages("TSP")       # Travelling salesperson problem

# from GitHub
devtools::install_github("mine-cetinkaya-rundel/addmins") # Mine's addins
devtools::install_github("thomasp85/ambient")             # Generate multidimensional noise
devtools::install_github("djnavarro/jasmines")            # Danielle's generative art
devtools::install_github("djnavarro/flametree")           # Generate pretty trees
devtools::install_github("cutterkom/generativeart")       # Create generative art with R
Then, I messaged her the sharing link for the workspace and asked her to create a new project in it. No installation needed! And, to be perfectly honest, it wouldn’t have been so difficult to walk her through installing R and RStudio on her computer, but some of these packages that need to be installed from GitHub use C++ code, which would require that she install Xcode, and who knows whether we could be up and running before my son completely gave up on his nap…
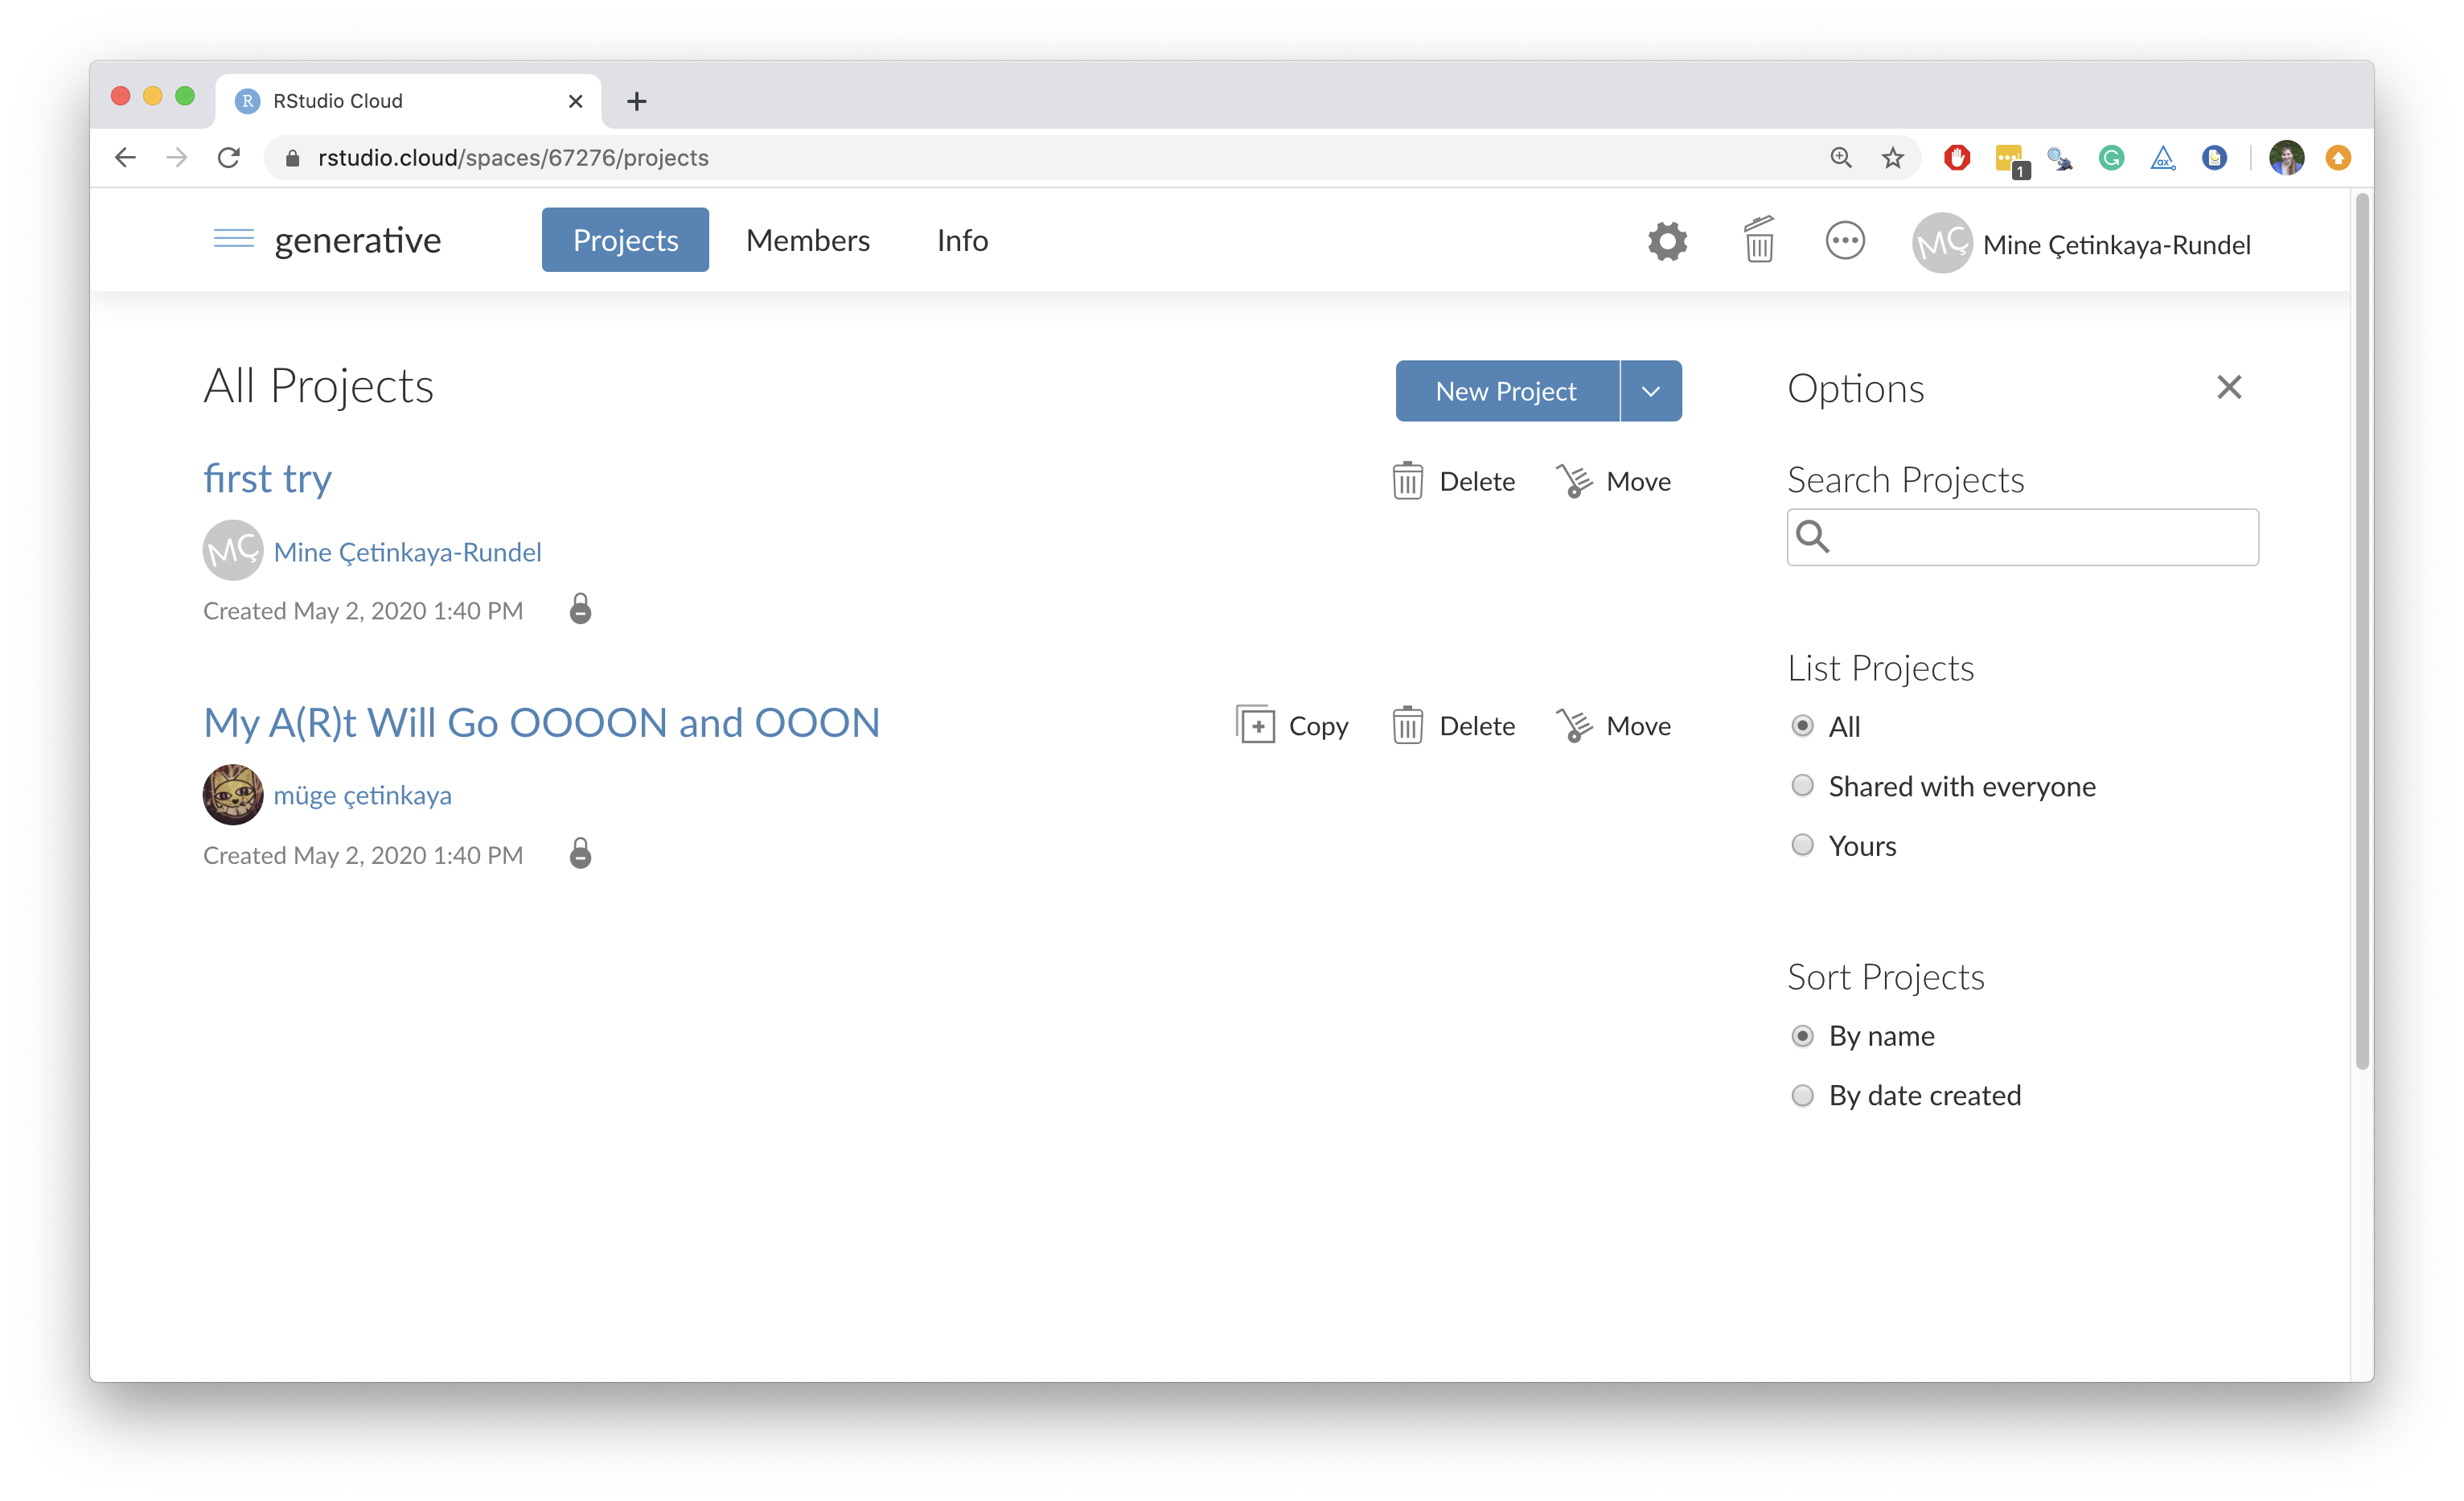
RStudio Cloud workspace with two projects
You can tell she’s a lot more creative than me based on her project name alone!
If you’re interested in setting up RStudio Cloud for collaborative work and/or teaching, I recommend reading the official guide which walks you through all of its features. Or if you prefer videos / want something more focused on teaching, I recommend my webinar on teaching with RStudio Cloud.
Working together, remotely
We met on Zoom and my sister shared her screen with me so that I could see what she was doing and where she needed help. This made more sense than me sharing my screen (and her having to follow along). Seeing her screen allowed me to be a lot more direct with my help/instructions, e.g. I could easily say things like “now look at line 17, starting with geom”. Over the past year, even prior to the COVID lockdown, I’ve experimented quite a bit with online “office hours” and have really enjoyed being able to see my students’ screen up close and also to share my screen with them
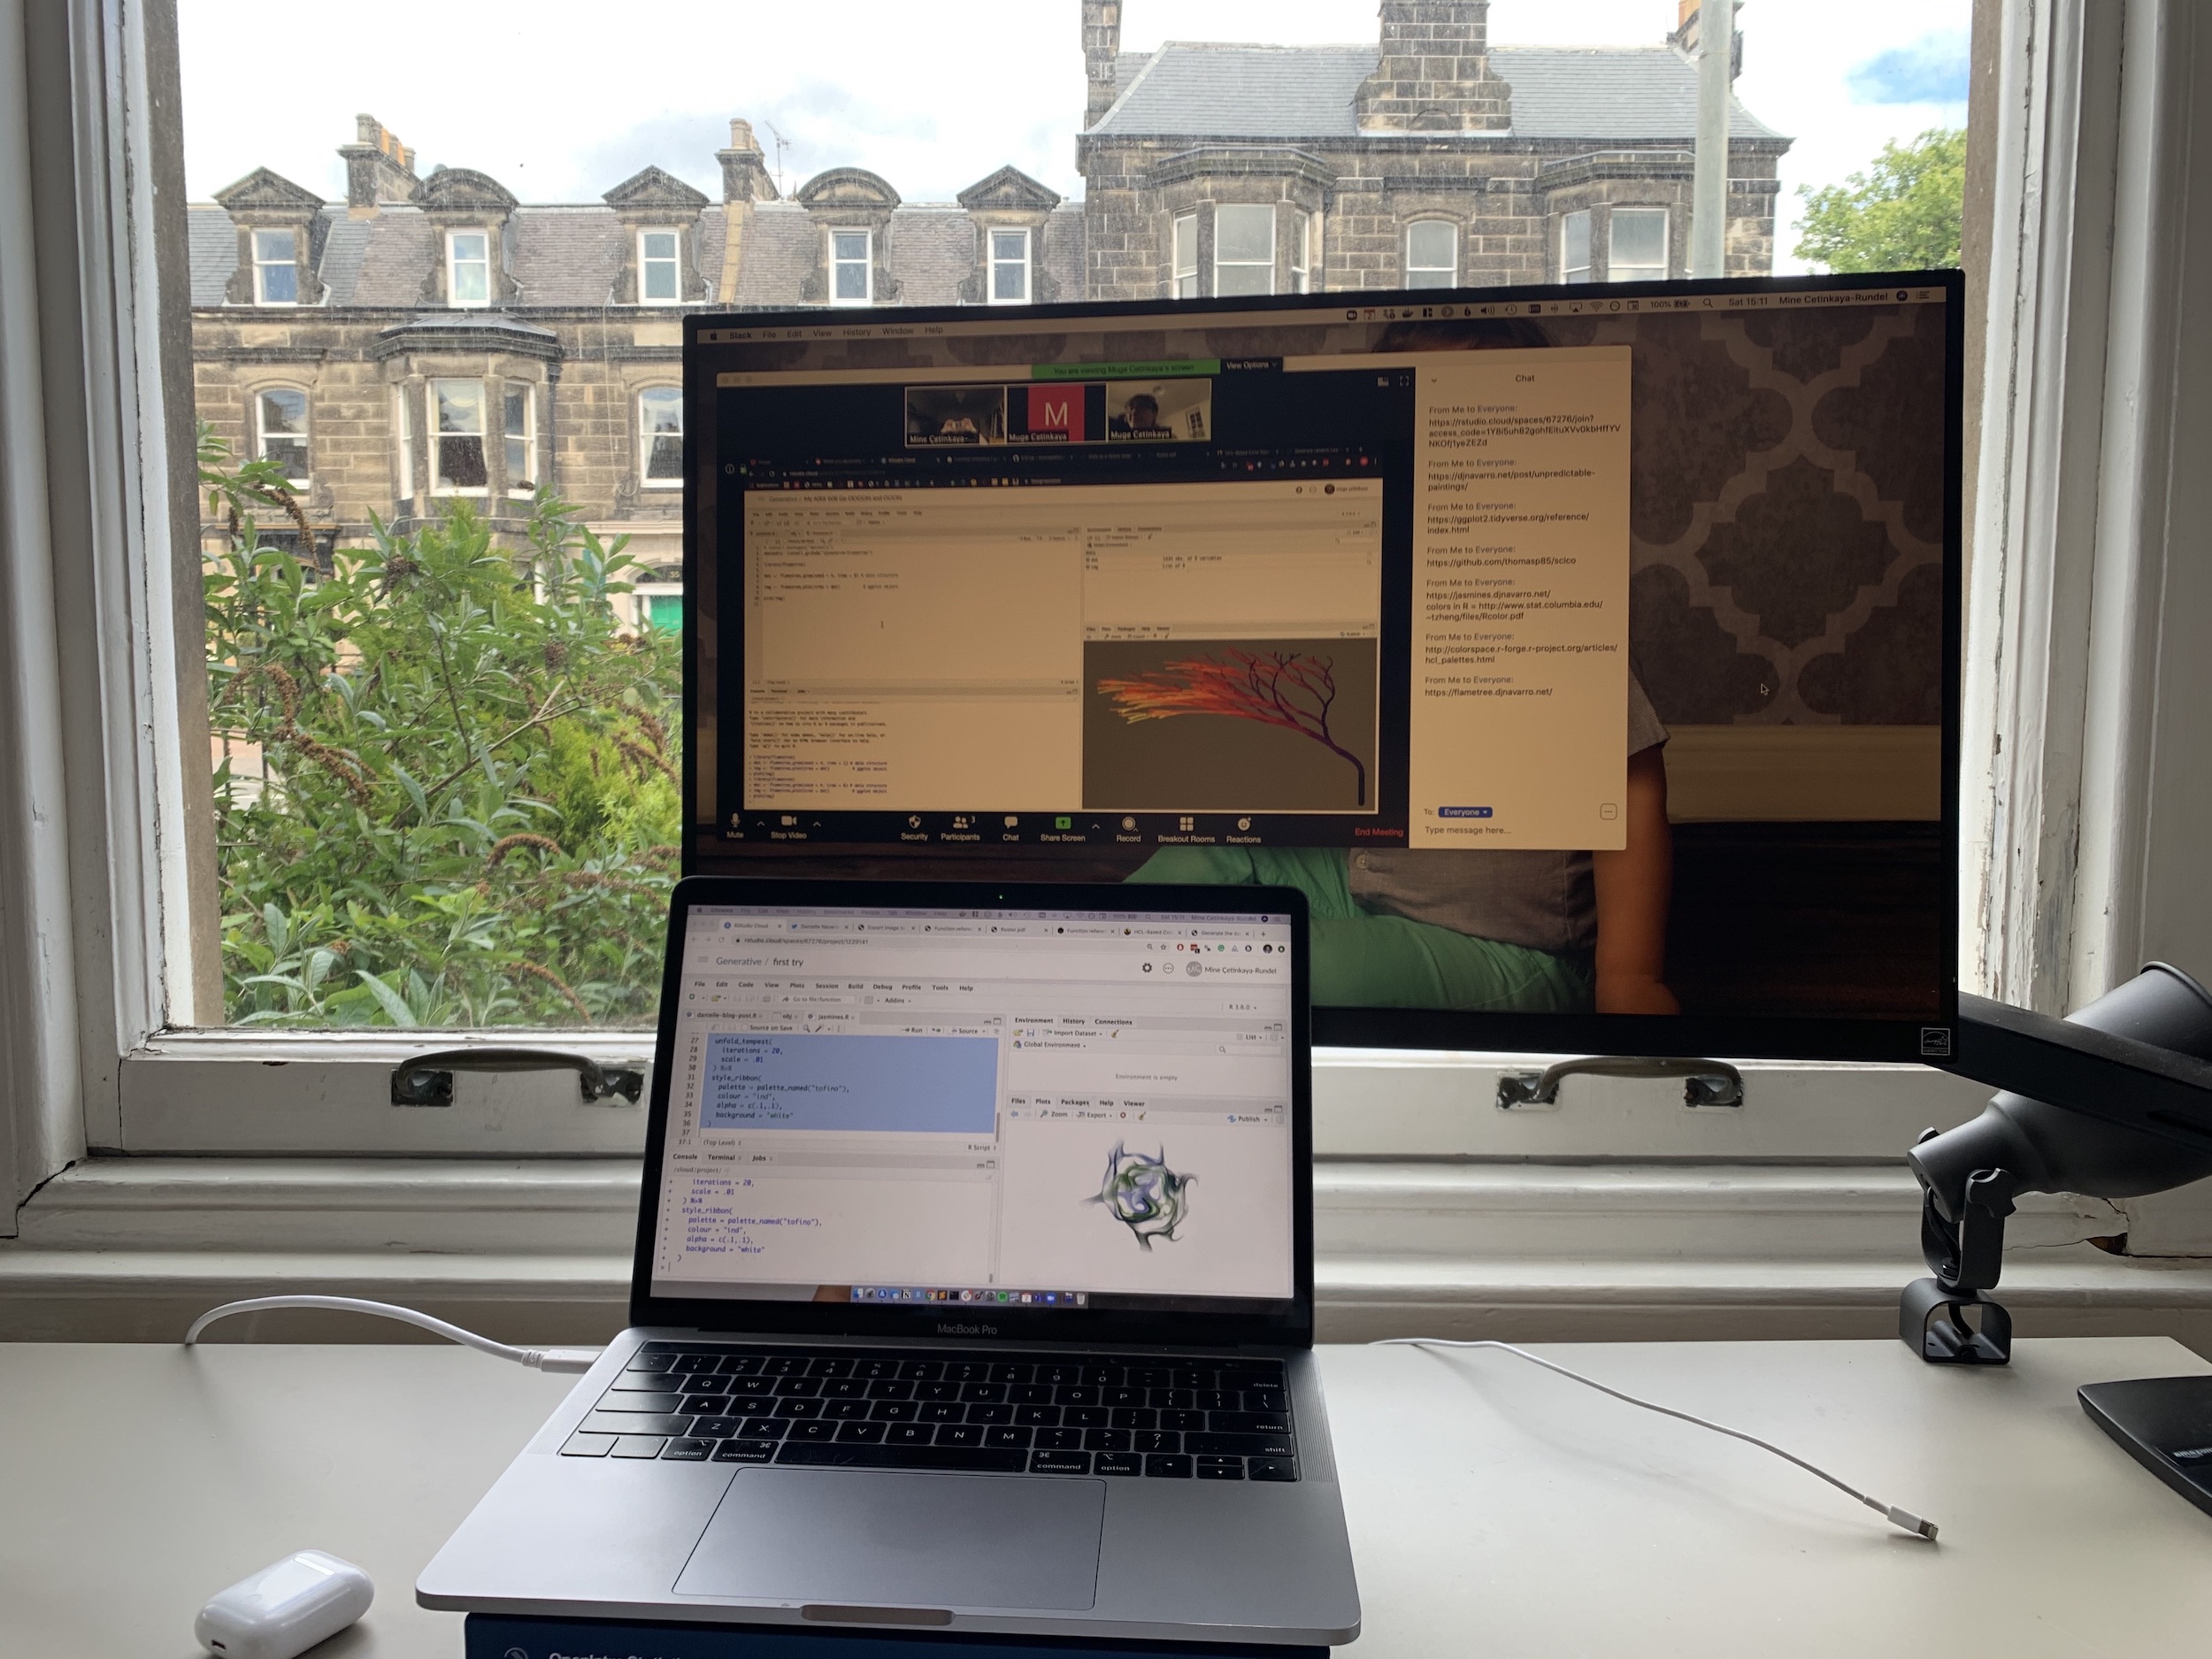
Setup for Zoom meeting with screen sharing
We started by working through Danielle’s blog post titled Unpredictable paintings. After a mini-lesson on what a tibble is and what it means to generate random numbers from a normal distribution, we were able to reproduce all of the pieces from the blog post. We then moved on to the examples on the README for the jasmines package. Along the way we used the chat in Zoom to share resources.
We didn’t spend a whole lot of time trying to understand the function code (that’s something I’ll delve into at a later time) but we modified the examples slightly by changing input parameter and colour palettes.
Here is what my sister came up with:
library(tidyverse)
library(jasmines)

use_seed(1106) %>%
  scene_discs(
    rings = 3,
    points = 4000,
    size = 5
  ) %>%
  mutate(ind = 1:n()) %>%
  unfold_warp(
    iterations = 2,
    scale = 0.5,
    output = "layer"
  ) %>%
  unfold_tempest(
    iterations = 20,
    scale = 0.01
  ) %>%
  style_ribbon(
    palette = palette_named("plasma"),
    colour = "ind",
    alpha = c(0.1, 0.1),
    background = "#FBE5E240"
  )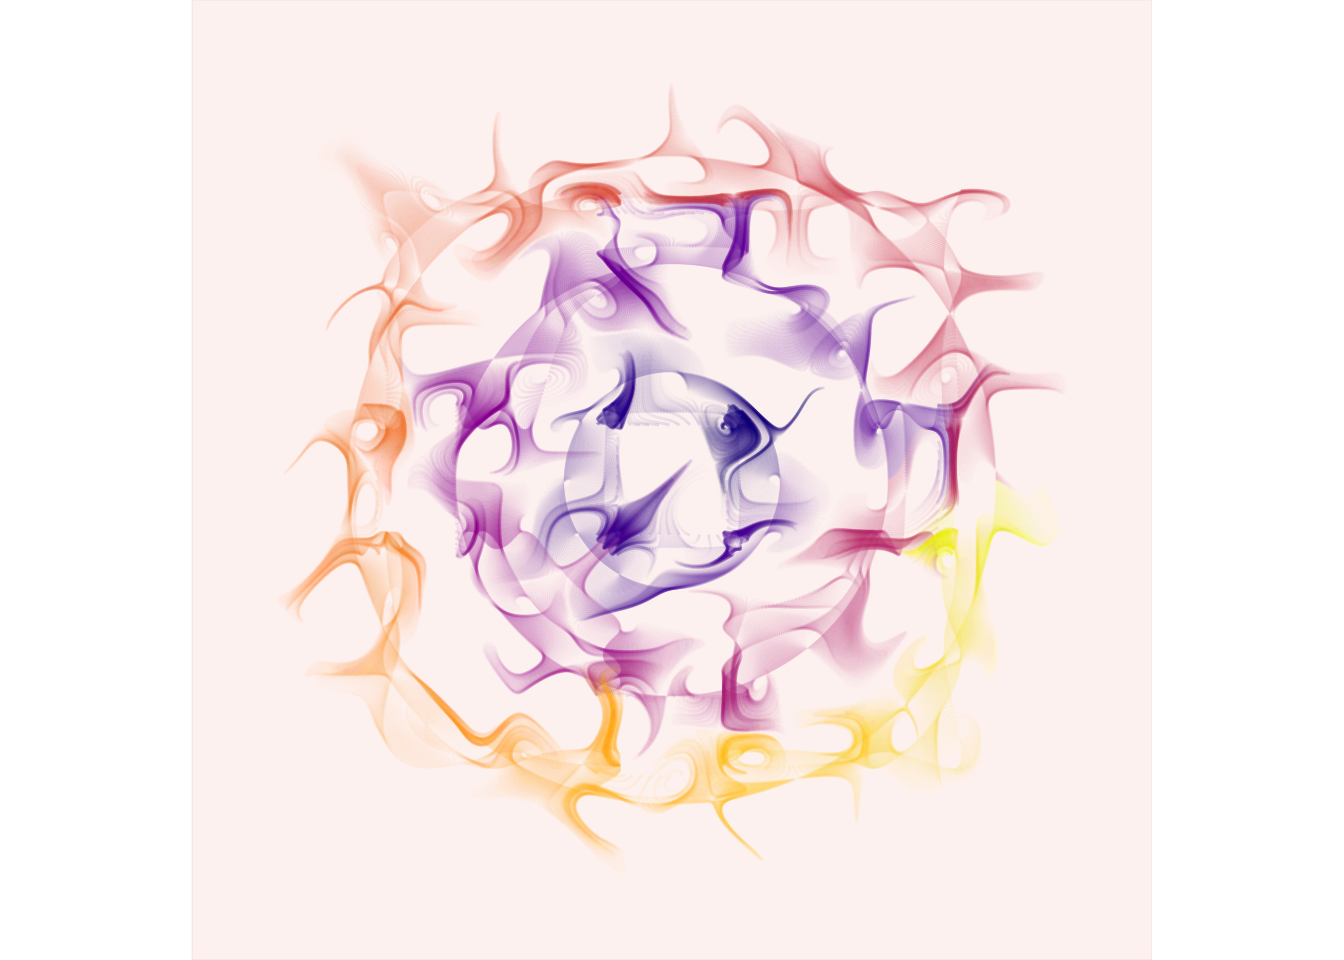
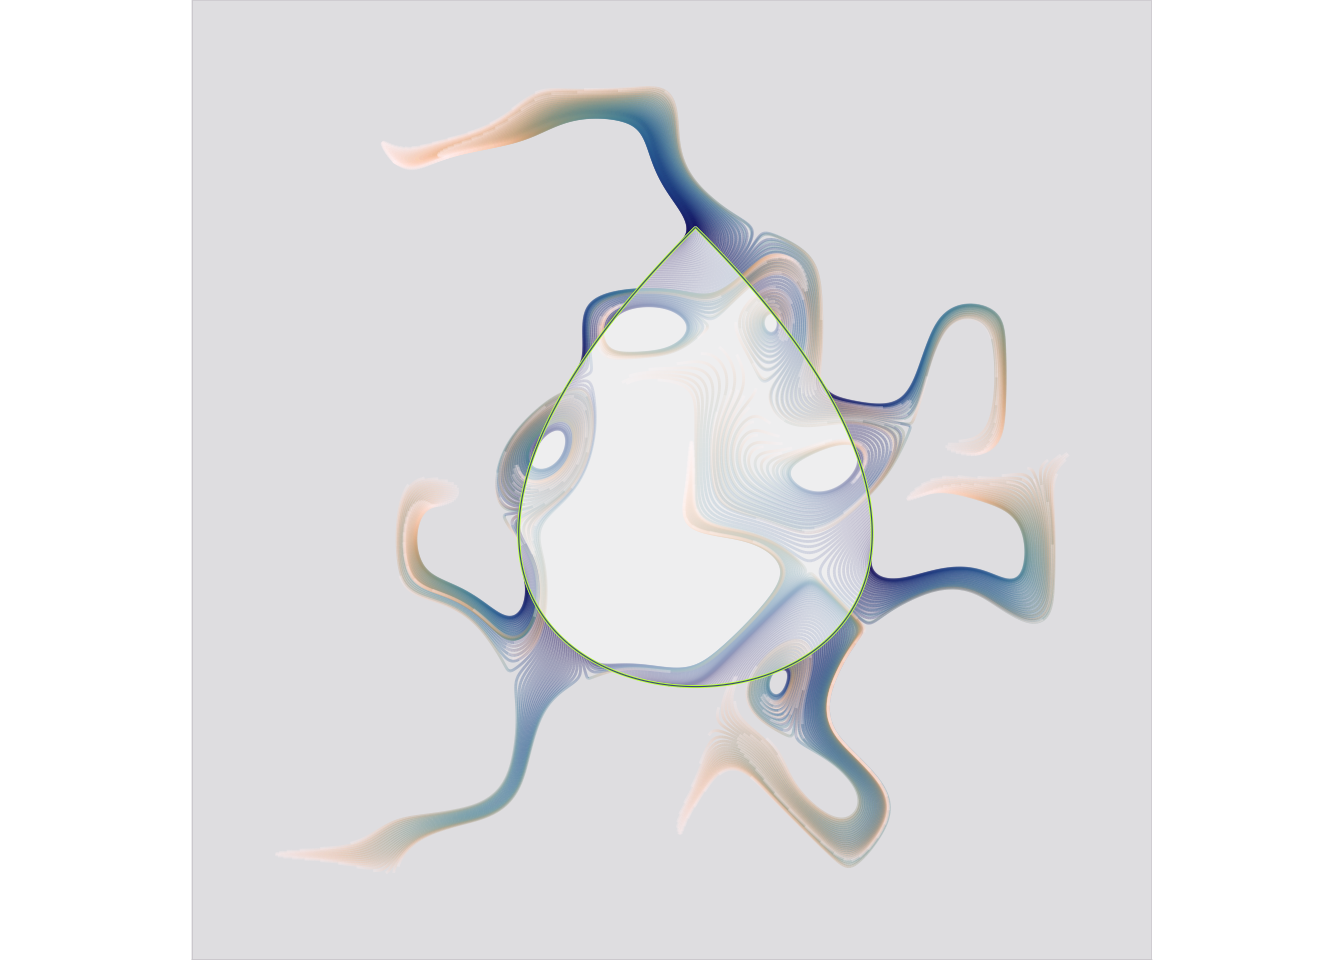
And here is mine:
use_seed(12345) %>%
  entity_droplet(
    grain = 500,
    shape = 1
    ) %>%
  unfold_tempest(
    iterations = 100,
    scale = 0.005,
    scatter = FALSE
    ) %>%
  style_ribbon(
    palette = "lapaz",
    colour = "time",
    background = "#CDCAD050"
    ) %>%
  # green thick border around droplet
  # with transparent white fill in
  style_overlay(
    border = "olivedrab1",
    linewidth = 0.5,
    fill = "#FFFFFF80"
    ) %>%
  # purple-ish thin border around droplet
  style_overlay(
    border = "#4C5991",
    linewidth = 0.2
    )
We made a bunch more along the way, but these were my favourites. We wrapped up the session with a plan for what to work on next time (hopefully this coming weekend!). I’ll need to do a bit of prep for it, but it should be fun!
Beginner friendly resources on generative art in R
By the end of the session we had a list of resources sitting in the Zoom chat. We decided to use a shared Notion page (her project organisation / note taking app of choice) to track resources and ideas.
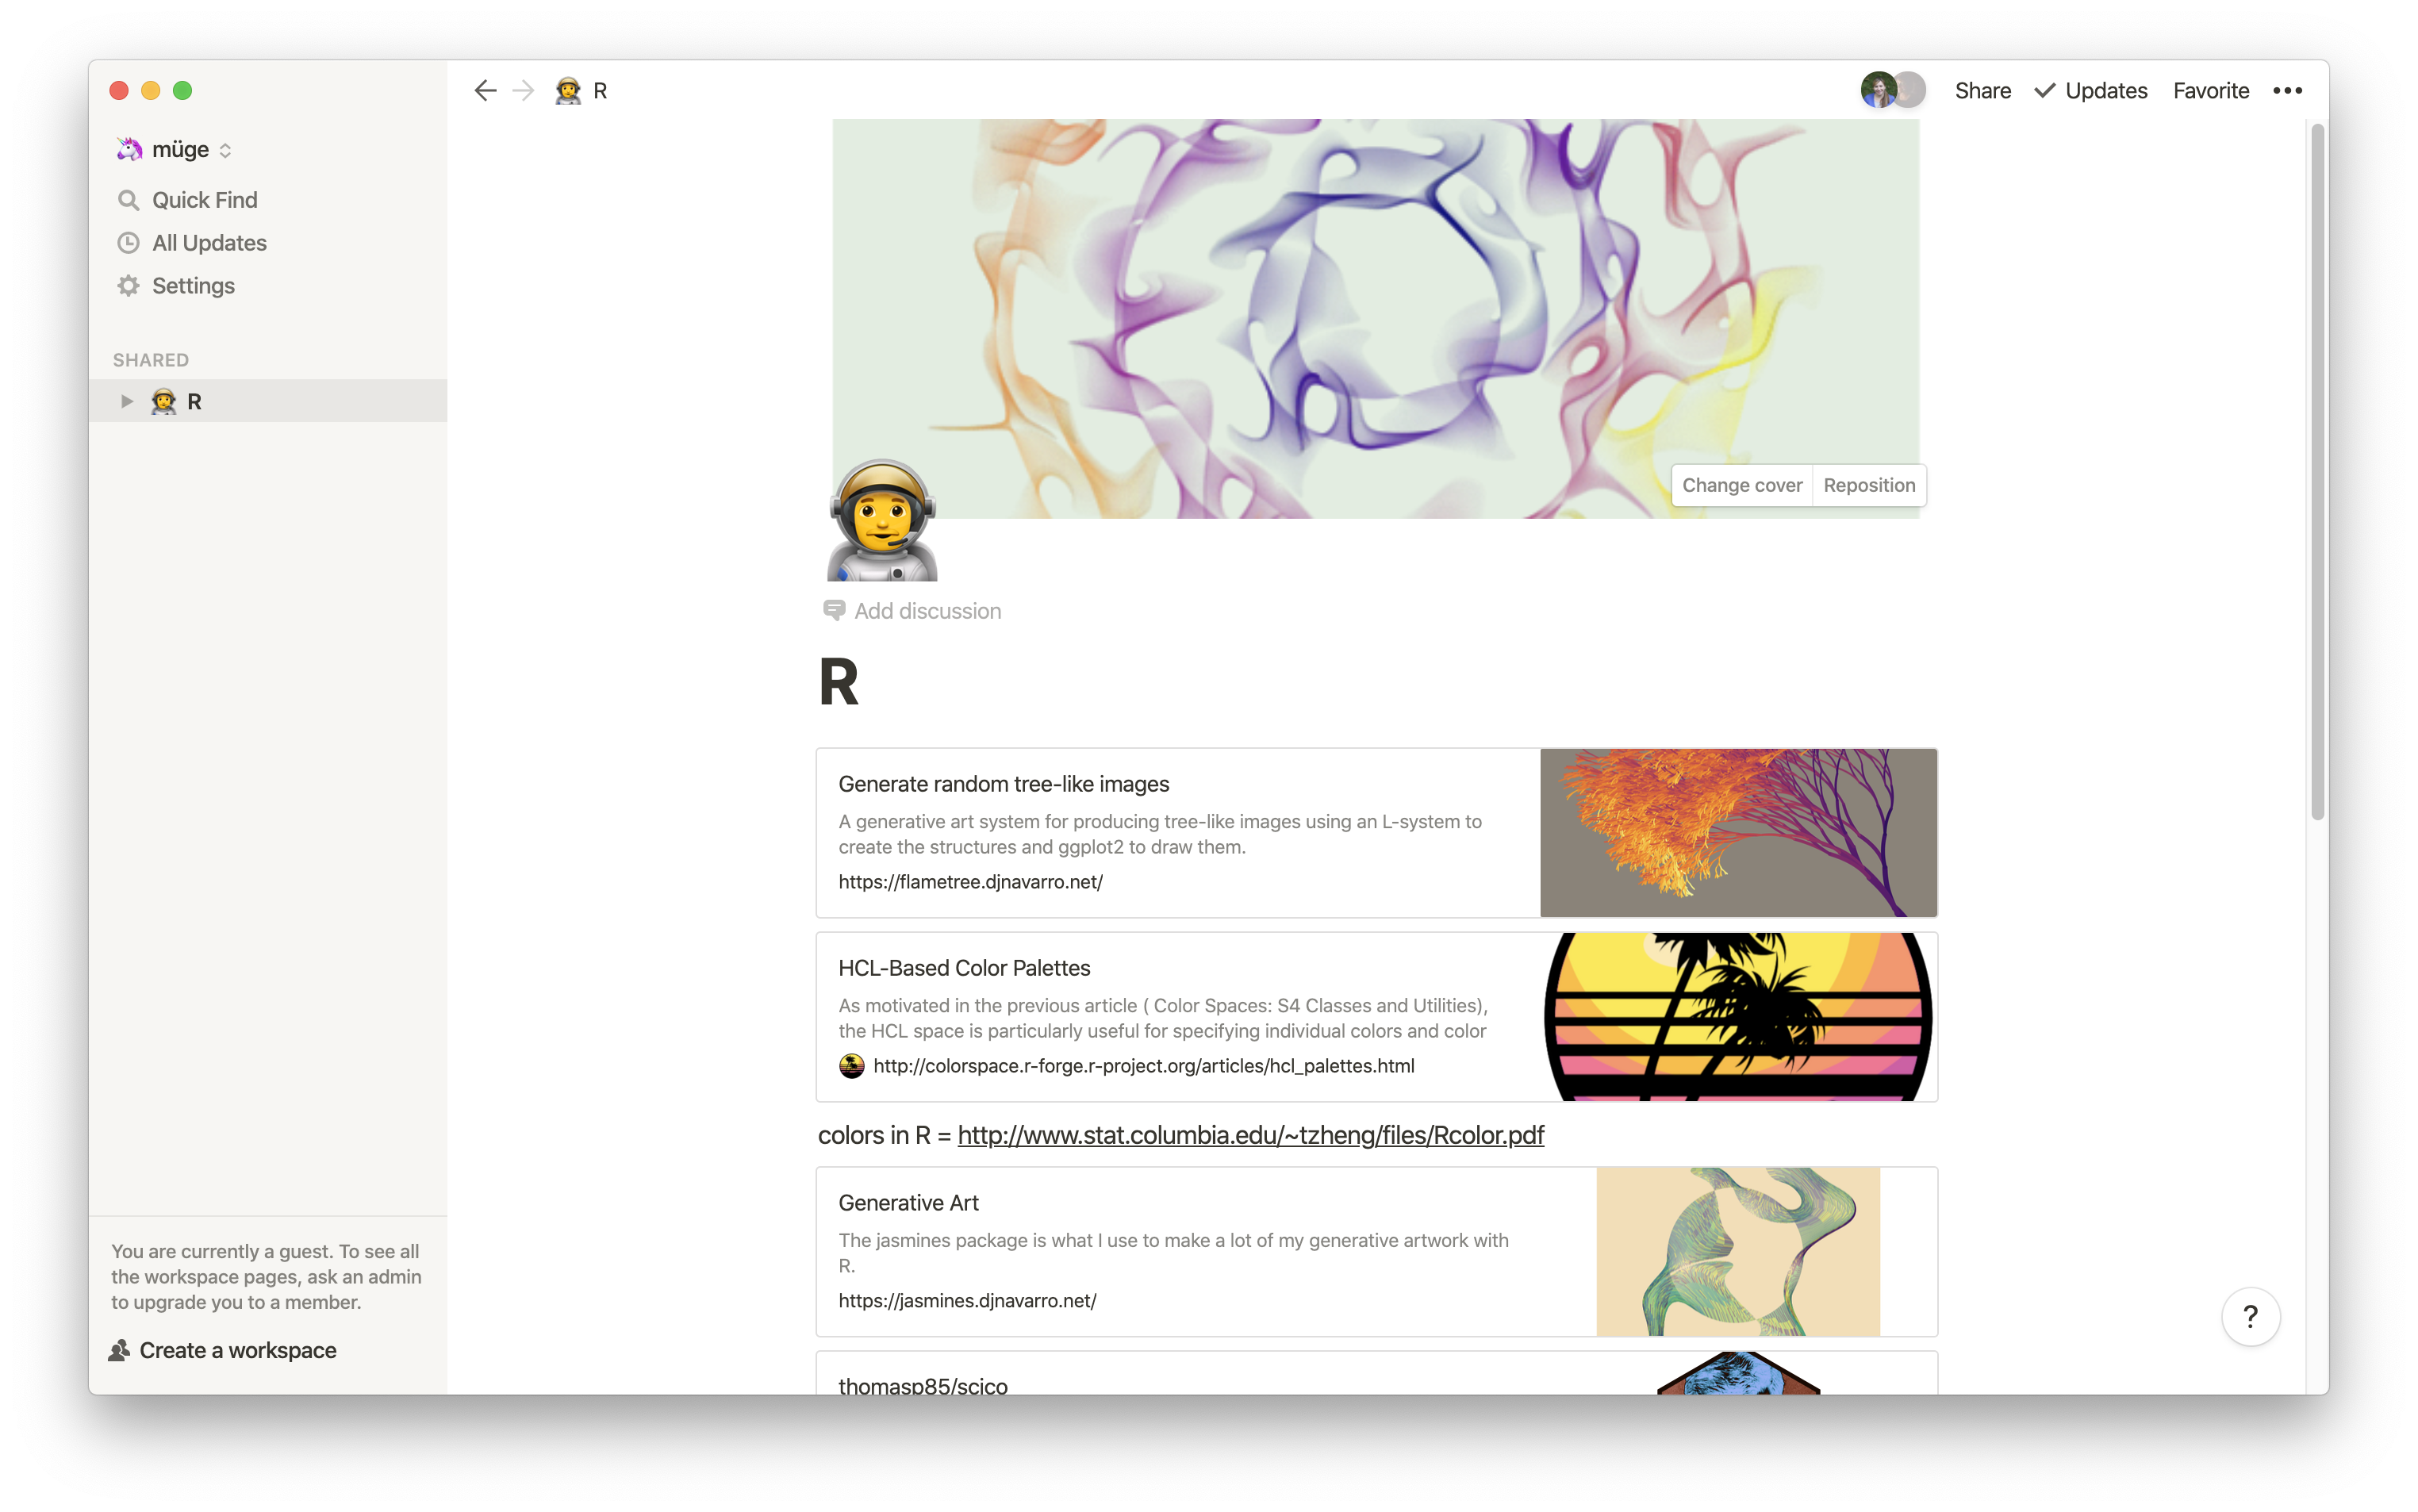
Using Notion to track resources and ideas for our learning
Here is our list of resources so far:
- Blog posts:
- Colours:
- Packages:
- Plotting in R:
- Inspiration:
I know there are a lot of other great resources on this topic. What am I missing that we could tackle next? If you have ideas for something that will make us do a bit more than tweaking parameters, but not to the extent of writing our own generative system, let me know here or on Twitter.
Closing thoughts
I teach regularly, but I almost always teach things that I know. It was a fun experience to teach as I learn. I’m glad I didn’t spend additional time before our session to get myself acquainted with the examples; it felt a lot more natural to discover things together.
As I mentioned earlier, this wasn’t the first time my sister tried out R. I’m not surprised that what finally motivated her is art. But this really goes to show that finding examples in application areas that learners are interested in is really helpful for motivation.
Thanks so much to Danielle Navarro for her blog post and packages! Our foray into this domain wouldn’t have been so smooth without them.
If you don’t like the piece you just generated, change the seed and try again. 😜
